Convert Word files to PDF, image, RTF, text, HTML, ODT, EPUB
With the software, you can convert Microsoft Word files (*. doc, *. docx) to different formats, which allows you to read documents on different devices.
Formats the software converts to:
- PDF - the most popular folder for storing and transferring or sharing documents on the Internet, virtually any device can read their content.
- image - the document is converted into a JPEG image, each page is a separate image. It is useful, for example, wanting to publish some of the material from our book. This way, if you want to post the content on your site, it will require some work in the form of rewriting the text. If we add an appropriate watermark then even with screen readers it will not be easy to scan the text.
- RTF - document format created for exchange between devices that support text enriched with, among others, images or tables. It is less complex than Word or OpenWriter file formats.
- text - a plain text file. No tables, charts or images, just plain text, unformatted in any way, will go into such a file.
- HTML is the language in which web pages are written. Thanks to it, you can publish your own content as a website, to which Internet users will have access.
- ODT is an OpenSource format. It is a format created opposite to Microsoft Word, which is a closed format belonging to Microsoft. Modern editors have been created for this format, which should have the ability to read or write this format.
- EPUB is an e-book format. The most common format for text that can be read in various types of electronic book readers. Thanks to the specifics, it will adapt to the screen format.
Run the program and click on the Document Conversion button on the left side of the menu. Next, we have to add files to the window with the File name. To do this we click on the Add item button. A window for selecting files will open. You can select a single file, or using the Ctrl key add any number of them at once. After selecting the files we click on the Open button.
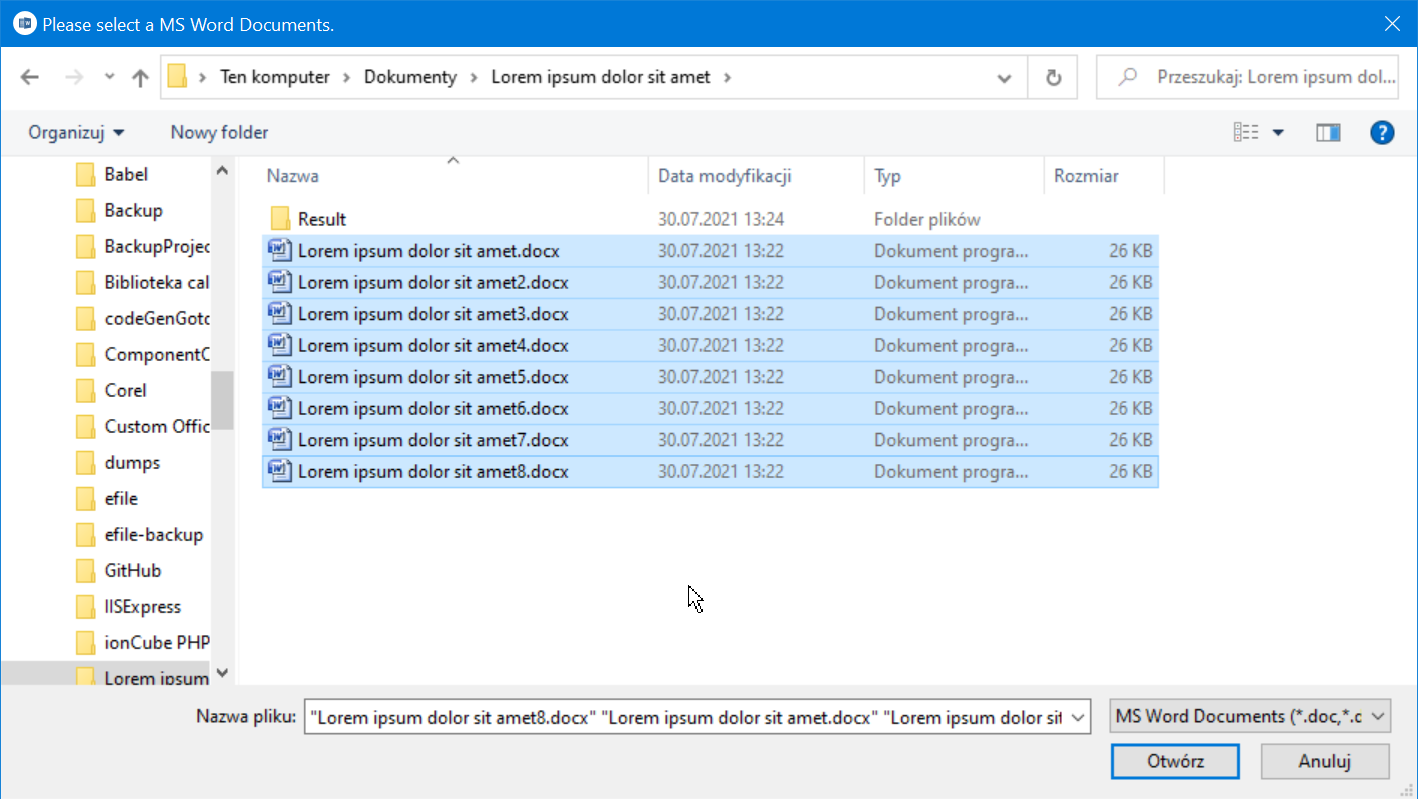
Figure 1: Selecting files for conversion
At this point, all selected files will be added to the File name control.
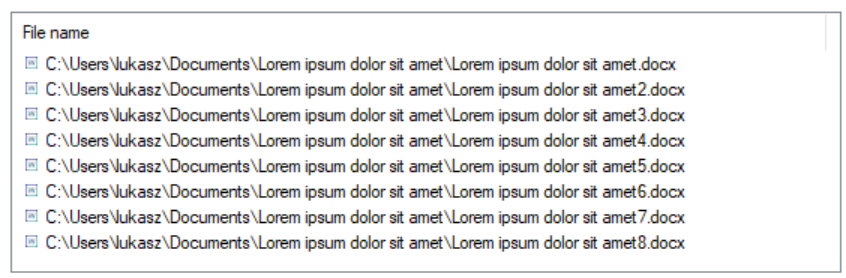
Figure 2: Files loaded for conversion
If you have added a file that you do not want to convert, select it by clicking on it once. Then click on the Delete element button. At this moment the selected file has been removed from the elements we want to convert.

Figure 3: Removing a single item from the list for conversion
Next we have to choose a folder where we want to put our converted documents. Go to the Result folder and using the Browse... button select the directory for the result of the conversion. Ideally, this should be a specially prepared folder, due to the fact that it will contain the files after conversion. If the folder contains other directories or files it will be difficult to find out which files are the result of the conversion.

Figure 4: Destination directory of documents after conversion
The next element is a checkbox Overwrite existing files. Checking it will cause, that if in the directory there is already a file with the same name as the file we are converting, it will be overwritten by our file. Otherwise in spite of successful conversion our work will not be saved.
Now it's time to click on the Conversion document button at the bottom of the window. The click will start the conversion and all other buttons will be disabled.

Figure 5: Button to start conversion
During the conversion we will be constantly informed how the conversion is going and what phase it is in. We can always click Cancel operation button if we have any doubts. This will stop the conversion of files. All previously converted files will be located in the folder with the result of the conversion.
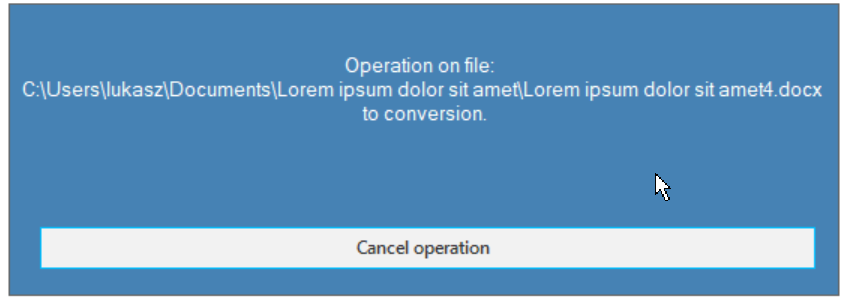
Figure 6: File Conversion
When finished, you can see the result of the program in the selected folder.
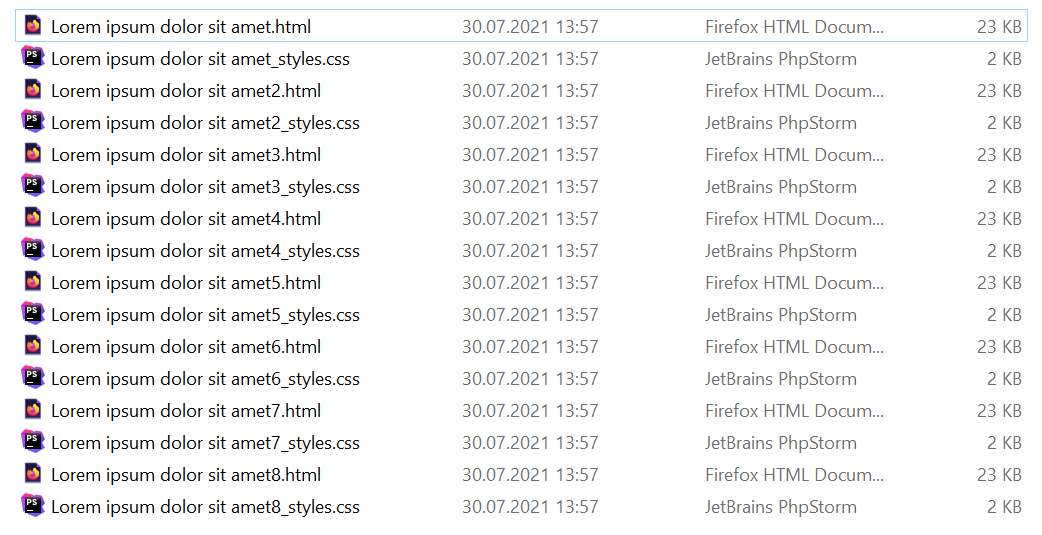
Figure 7: Directory with converted files