Removing protection against document editing
The program has the ability to remove protection from editing any number of files. Useful option if you are preparing documents for, for example, editing and we do not want to waste time going into each one and correcting options in it. If there are hundreds of such files it may take us even whole day. With help comes phpBlueDragon Word Operation. We click on Delete protection from document button.
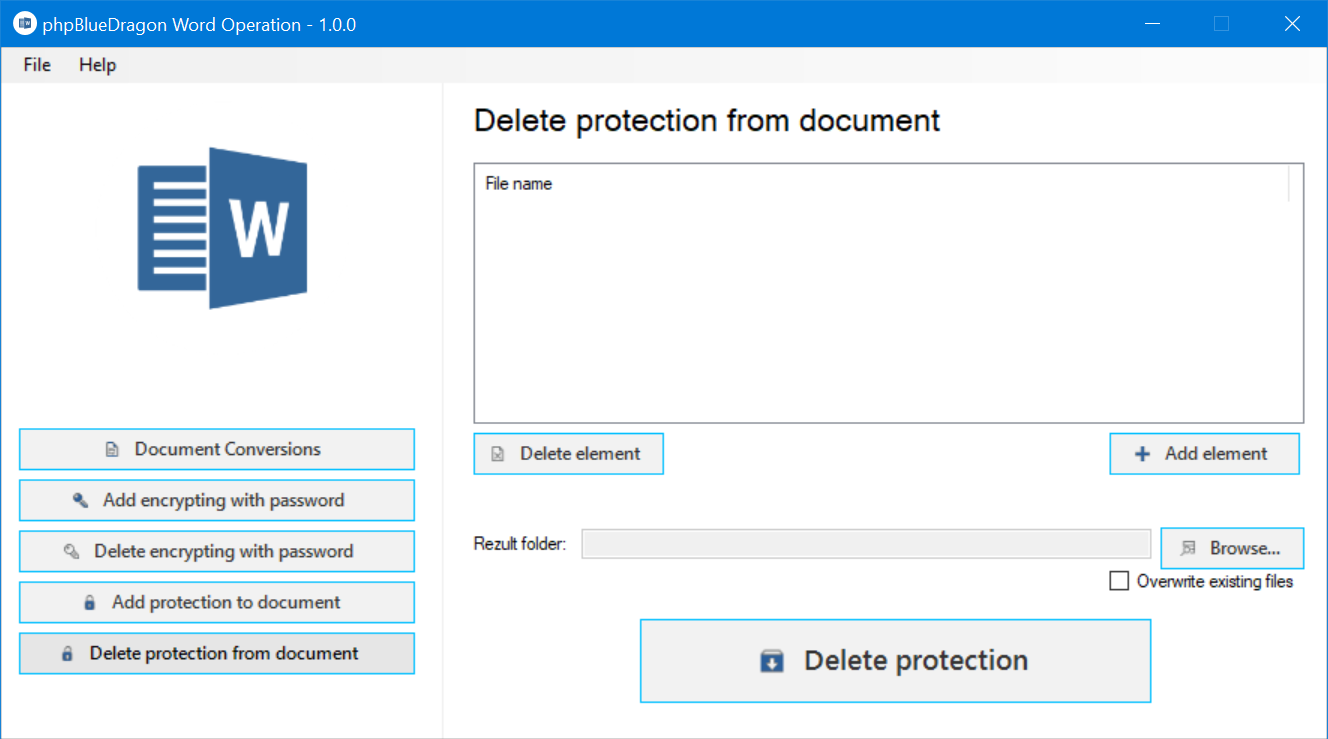 Figure 1. Deleting from files forbidden to edit
Next, in the window with the File name, you have to add files in which you want to remove the editing prohibition. To do this, click on the Add item button. A window for selecting files will open. You can select a single file or using the Ctrl button add any number of them at once. After choosing the files we click on the Open button.
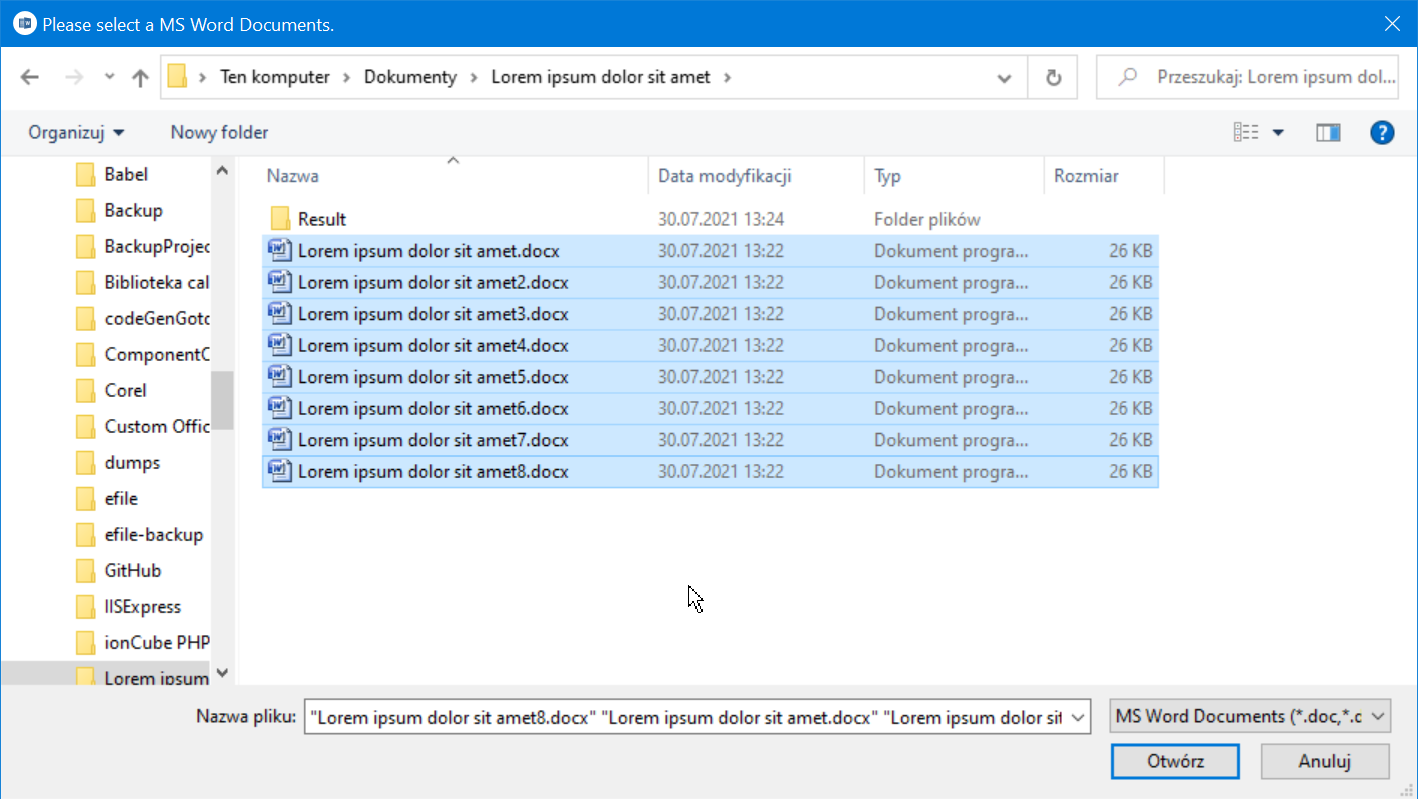 Figure 2: Selecting files protected from editing
At this point, all selected files will be added to the File name control.
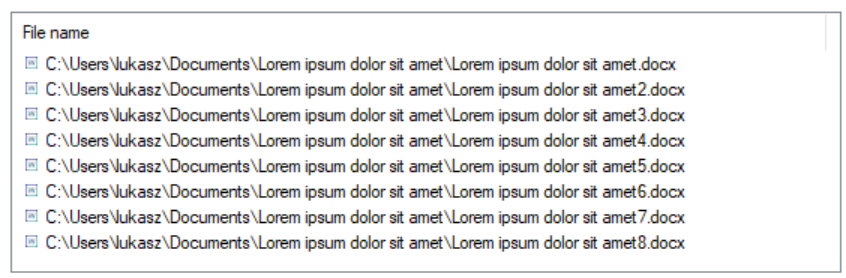
Figure 3: Files loaded to remove edit protection
If you have added a file that you do not want, select it by clicking on it once. Then click on the Delete element button. At this moment, the selected file has been removed from among the selected elements, which we want to delete in order to prevent editing.

Figure 4: Deleting a single item from the file list
Next, select the directory where we want to place our documents. Go to the Result folder and using the Browse... button choose the folder for the result of removing protection from editing our documents. Ideally, this should be a specially prepared folder, due to the fact that it will contain files after the removal of protection. If the folder contains other directories or files it will be difficult to find out which files are the result of the program.

Figure 5: Destination directory of documents after removing protection against editing
The next item is a checkbox for Overwrite existing files. Checking it will cause that if there is already a file in the directory with the same name as the file for which we are removing the editing protection, it will be overwritten by our file. Otherwise our work will not be saved despite a successful removal.
Now it's time to click on the Delete protection button at the bottom of the window. Clicking this will start deleting protection before editing files, and all other buttons will be disabled.
Figure 6: The button that starts removing the information from the file that the file is read-only
While taking away attributes from the files so that they will be files in which it will be possible to make changes, we will be constantly informed as to how the operation is going and what phase it is currently in. If we have second thoughts, we can always click the Cancel operation button. This will stop the removal of permissions prohibiting editing of files. All files that have not yet been edited, along with the removal of editing restrictions, will be placed in the result folder.