Adding a password for documents
The software has an option such as adding a password for the document. By adding a password no one except the person who knows the password will be able to see what is inside the file. In the main menu we click on the left side on the button Add encrypting with password. We are taken to a place where we have to define the options of the added password.

Figure 1: The program when adding a password to a document
Next, you need to add files to the window with the File name. To do this we click on the Add item button. A window for choosing files will open. You can select a single file, or using the Ctrl button add any number of them at once. After choosing the files we click on the Open button.
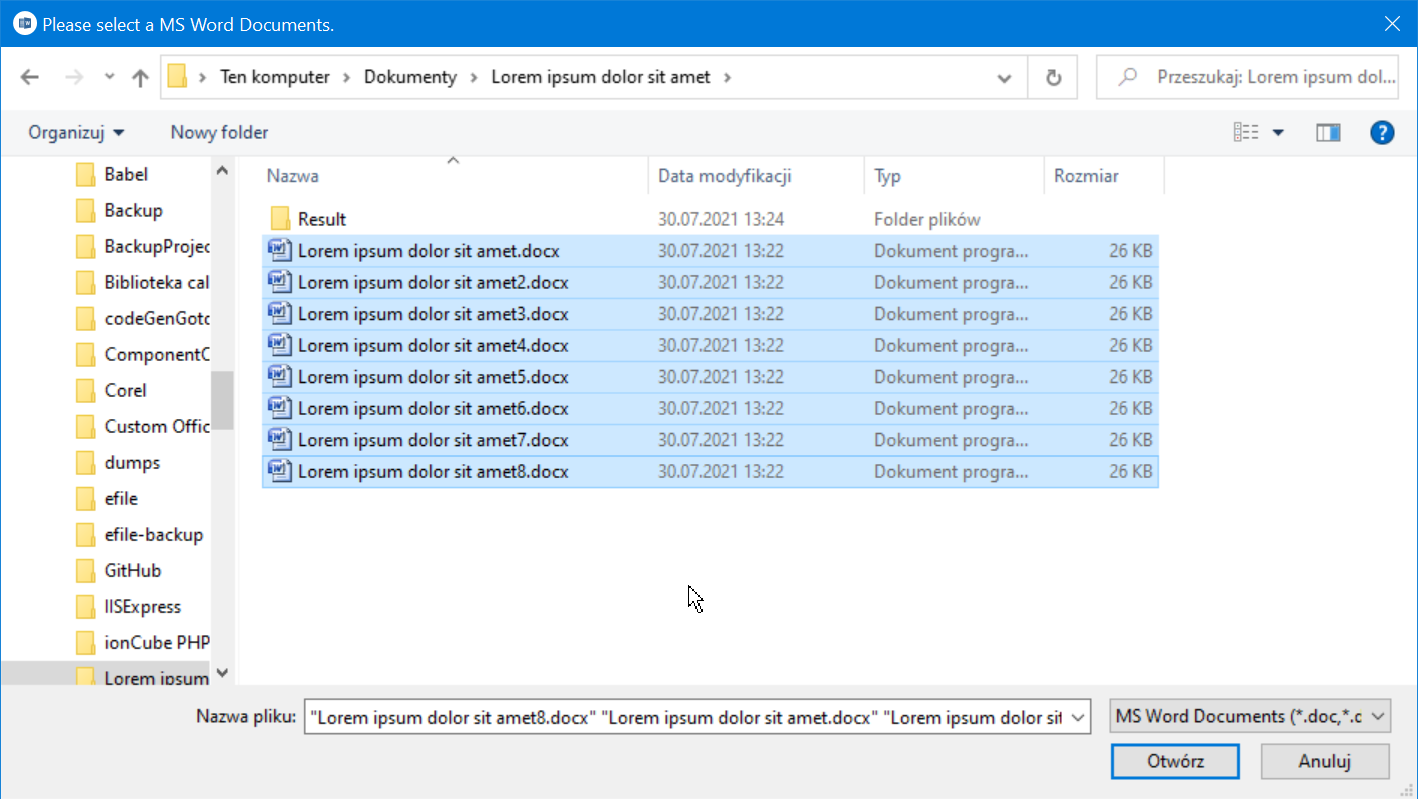 Figure 2: Selecting files to assign them a common password
At this point, all selected files will be added to the File name control.
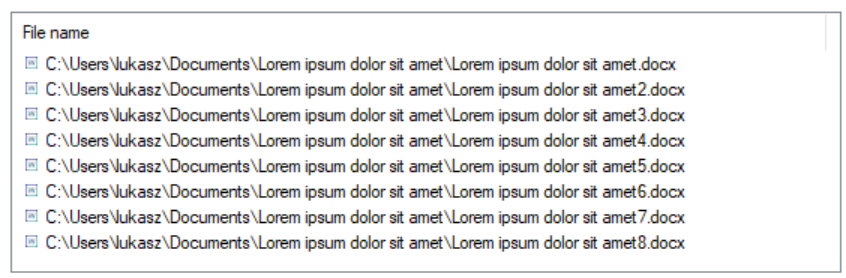
Figure 3: Files loaded for password assignment
If you have added a file which you do not want to protect with a password, select it by clicking on it once. Then click on the Delete element button. At this moment, the selected file has been removed from among the selected elements, which we want to subject to adding a password.

Figure 4: Removing a single item from the list for assigning a password
Now we have to define a password in the Password and Repeat password fields. In the Password fields the password is not defined using readable characters, so in order to avoid mistakes while defining it we have to repeat it a second time.

Figure 5: Password definition
Next, we need to select the directory where we want to place our documents. We go to the Result folder and using the Browse... button, we choose a folder for the result of adding passwords to our documents. Ideally, it should be a specially prepared folder, because it will contain the files after adding the password. If the folder contains other directories or files it will be difficult to find out which files are the result of adding a password to them.

Figure 6: The document destination directory after assigning a password
The next element is a checkbox Overwrite existing files. If you check it, if there is already a file in the directory with the same name as the file you are about to add a password for, it will be overwritten by our file. Otherwise our work will not be saved even though we have successfully added the password.
Now it's time to click on the Encrypt documents button at the bottom of the window. The click will start assigning passwords and all other buttons will be disabled.

Figure 7: Button for starting the file password assignment
While assigning the password we will be constantly informed about its progress and the current phase. If we have second thoughts, we can always click the Cancel operation button. This will stop adding the password to the files. All files with the added password so far will be in the folder with the result.